
Customizing Reports for Your Organization
Set default report options so every report your team generates starts with the right columns, filters, and layout — no manual tweaking each time.
Why Customize Report Presets?
Section titled “Why Customize Report Presets?”Every time someone on your team generates a report, they start with a set of default options — which columns to include, how items are grouped, what filters are applied. Out of the box, these defaults work for most teams. But if your organization always needs specific columns, or always filters by a certain category, you can change the defaults so reports come out the way you want without extra steps.
Customizations apply to everyone in your organization. Individual users can still adjust options when generating a specific report — your customizations just set the starting point.
Where to Find Report Presets
Section titled “Where to Find Report Presets”-
Click Organization in the side menu, then open the Settings tab.
-
Select Reporting in the left sidebar, then the Report Presets tab.
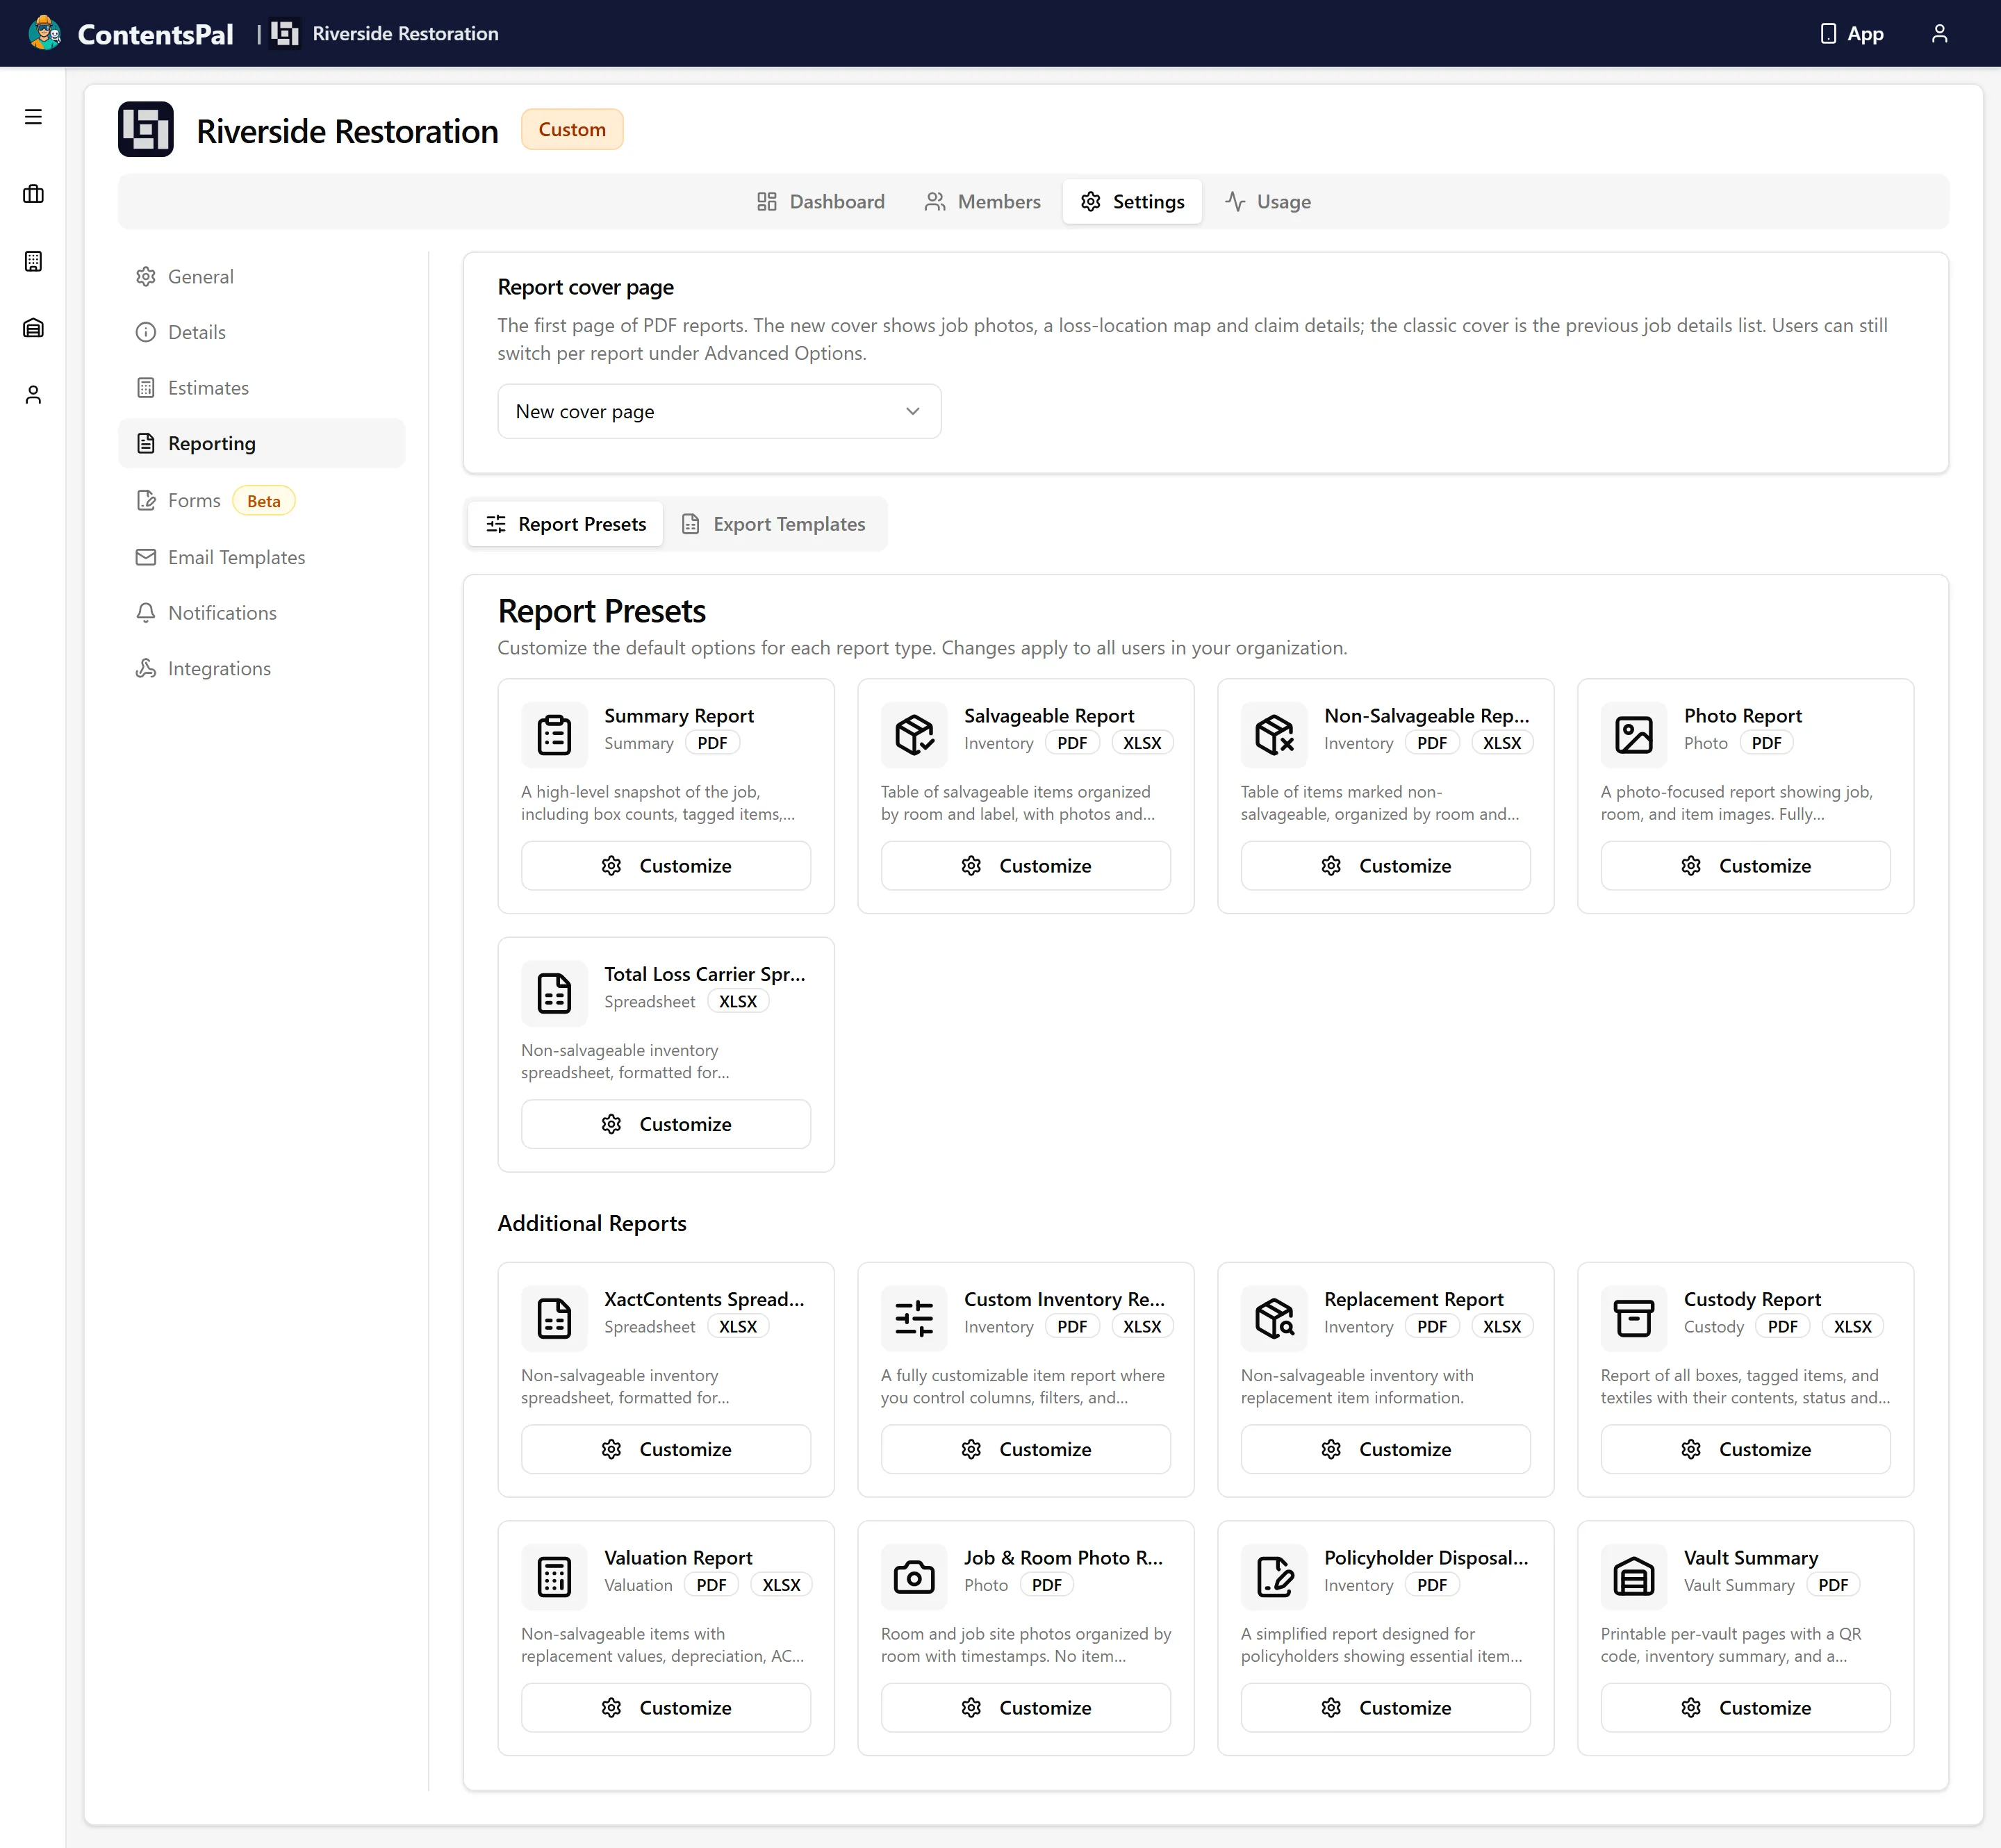
You’ll see all available report types displayed as cards. Each card shows the report name, type, supported formats (PDF, XLSX), and a brief description.
The Export Templates tab next to it is for a different job — adding your own carrier spreadsheets. See “Your Own Export Templates” below.
Choosing the Report Cover Page
Section titled “Choosing the Report Cover Page”PDF reports open with a cover page. At the top of the Reporting settings, the Report cover page card sets which cover your organization uses — New cover page, Classic cover page or Automatic — and which sections the new cover shows. Anyone generating a PDF can still change the cover for a single report under Cover page in Advanced Options. See Report Cover Page for what the cover shows and how it picks its photos.
Customizing a Report
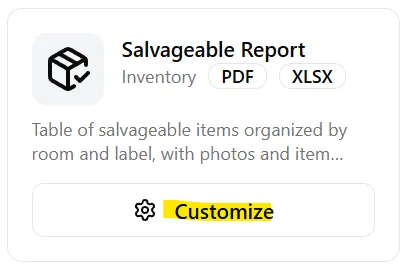
Section titled “Customizing a Report”- Find the report you want to customize and click Customize (or Edit if it’s already customized).
-
You’ll see all the options available for that report type — columns, filters, layout, photos, and more. The available options vary by report; see the individual report articles below for details on what each one supports.
-
Click Save Defaults when you’re done.
Resetting to Defaults
Section titled “Resetting to Defaults”If you want to undo your customizations and go back to the built-in defaults:
-
Find the customized report (it will have a Customized badge).
-
Click the reset button (circular arrow icon) next to the “Edit” button.
-
Confirm the reset.
Your customizations are removed and the report goes back to system defaults.
How Customizations Affect Report Generation
Section titled “How Customizations Affect Report Generation”When anyone in your organization generates a report:
-
The report options start with your customized defaults instead of the built-in ones.
-
The user can still change any option before generating — your customizations are just the starting point.
-
If you haven’t customized a report type, it uses the standard system defaults.
(Tip: If your team often forgets to check a specific column or apply a filter, setting it as the default here saves everyone time and keeps reports consistent.)
Available Report Types
Section titled “Available Report Types”You can customize defaults for all report types:
Main Reports:
-
Job Summary Report — High-level snapshot with box counts, tagged items, and totals by room
-
Salvageable Report — Item table for salvageable inventory with photos and details
-
Non-Salvageable Report — Item table for non-salvageable items
-
Photo Report — Photo-focused report with customizable overlays
-
Total Loss Carrier Spreadsheet — Non-salvageable inventory in a specific carrier’s spreadsheet layout
Additional Reports:
-
XactContents Spreadsheet — Non-salvageable inventory, formatted for XactContents or a specific carrier
-
Custom Inventory Report — Fully customizable columns, filters, and grouping
-
Replacements Report — Non-salvageable inventory with replacement item details
-
Custody Report — Boxes, tagged items, and textiles with contents, status, and location
-
Materials Usage Report — Packing materials used on the job (boxes by size, blankets, covers, wrap), totaled for the job and per room
-
Performance Report — Each team member’s items, boxes, tags, and estimated work hours on the job, with charts and their work sessions (admins only)
-
Valuation Report — Non-salvageable items with replacement values, depreciation, ACV, and tax
-
Job & Room Photo Report — Room and job site photos organized by room (no item photos)
-
Policyholder Disposal Approval — Simplified report for policyholders
-
Vault Summary — Printable per-vault pages with a QR code, inventory summary, and contents table
(Note: Not all options are available for every report type. The customization screen only shows options relevant to the selected report.)
Your Own Export Templates
Section titled “Your Own Export Templates”If a carrier you work with has its own inventory spreadsheet that isn’t one of the built-in formats, you can add it yourself under the Export Templates tab. Upload the carrier’s blank form, check the mapping we propose for it, and it becomes available to your whole team in the report dropdown.
See the Export Templates article for the full walkthrough.
Who Can Customize Presets?
Section titled “Who Can Customize Presets?”Only organization owners and admins can access the Reporting tab, customize report presets, and add export templates. Regular team members will use whatever defaults have been set, but can still adjust options when generating individual reports — and they can pick your organization’s export templates on the Total Loss Carrier and XactContents Spreadsheet reports.
Related
Section titled “Related”-
Reports Overview — How to generate and access reports
-
Salvageable Report — Details on the Salvageable Report
-
Custom Inventory Report — Details on the Custom Inventory Report
-
Custody Report — Details on the Custody Report